Pinball

Closer to turret action

Ok so got the subways for the 360 done in the last post, so now have been trying to design/print the top size turret.    Got that printed today.

20170806_123059

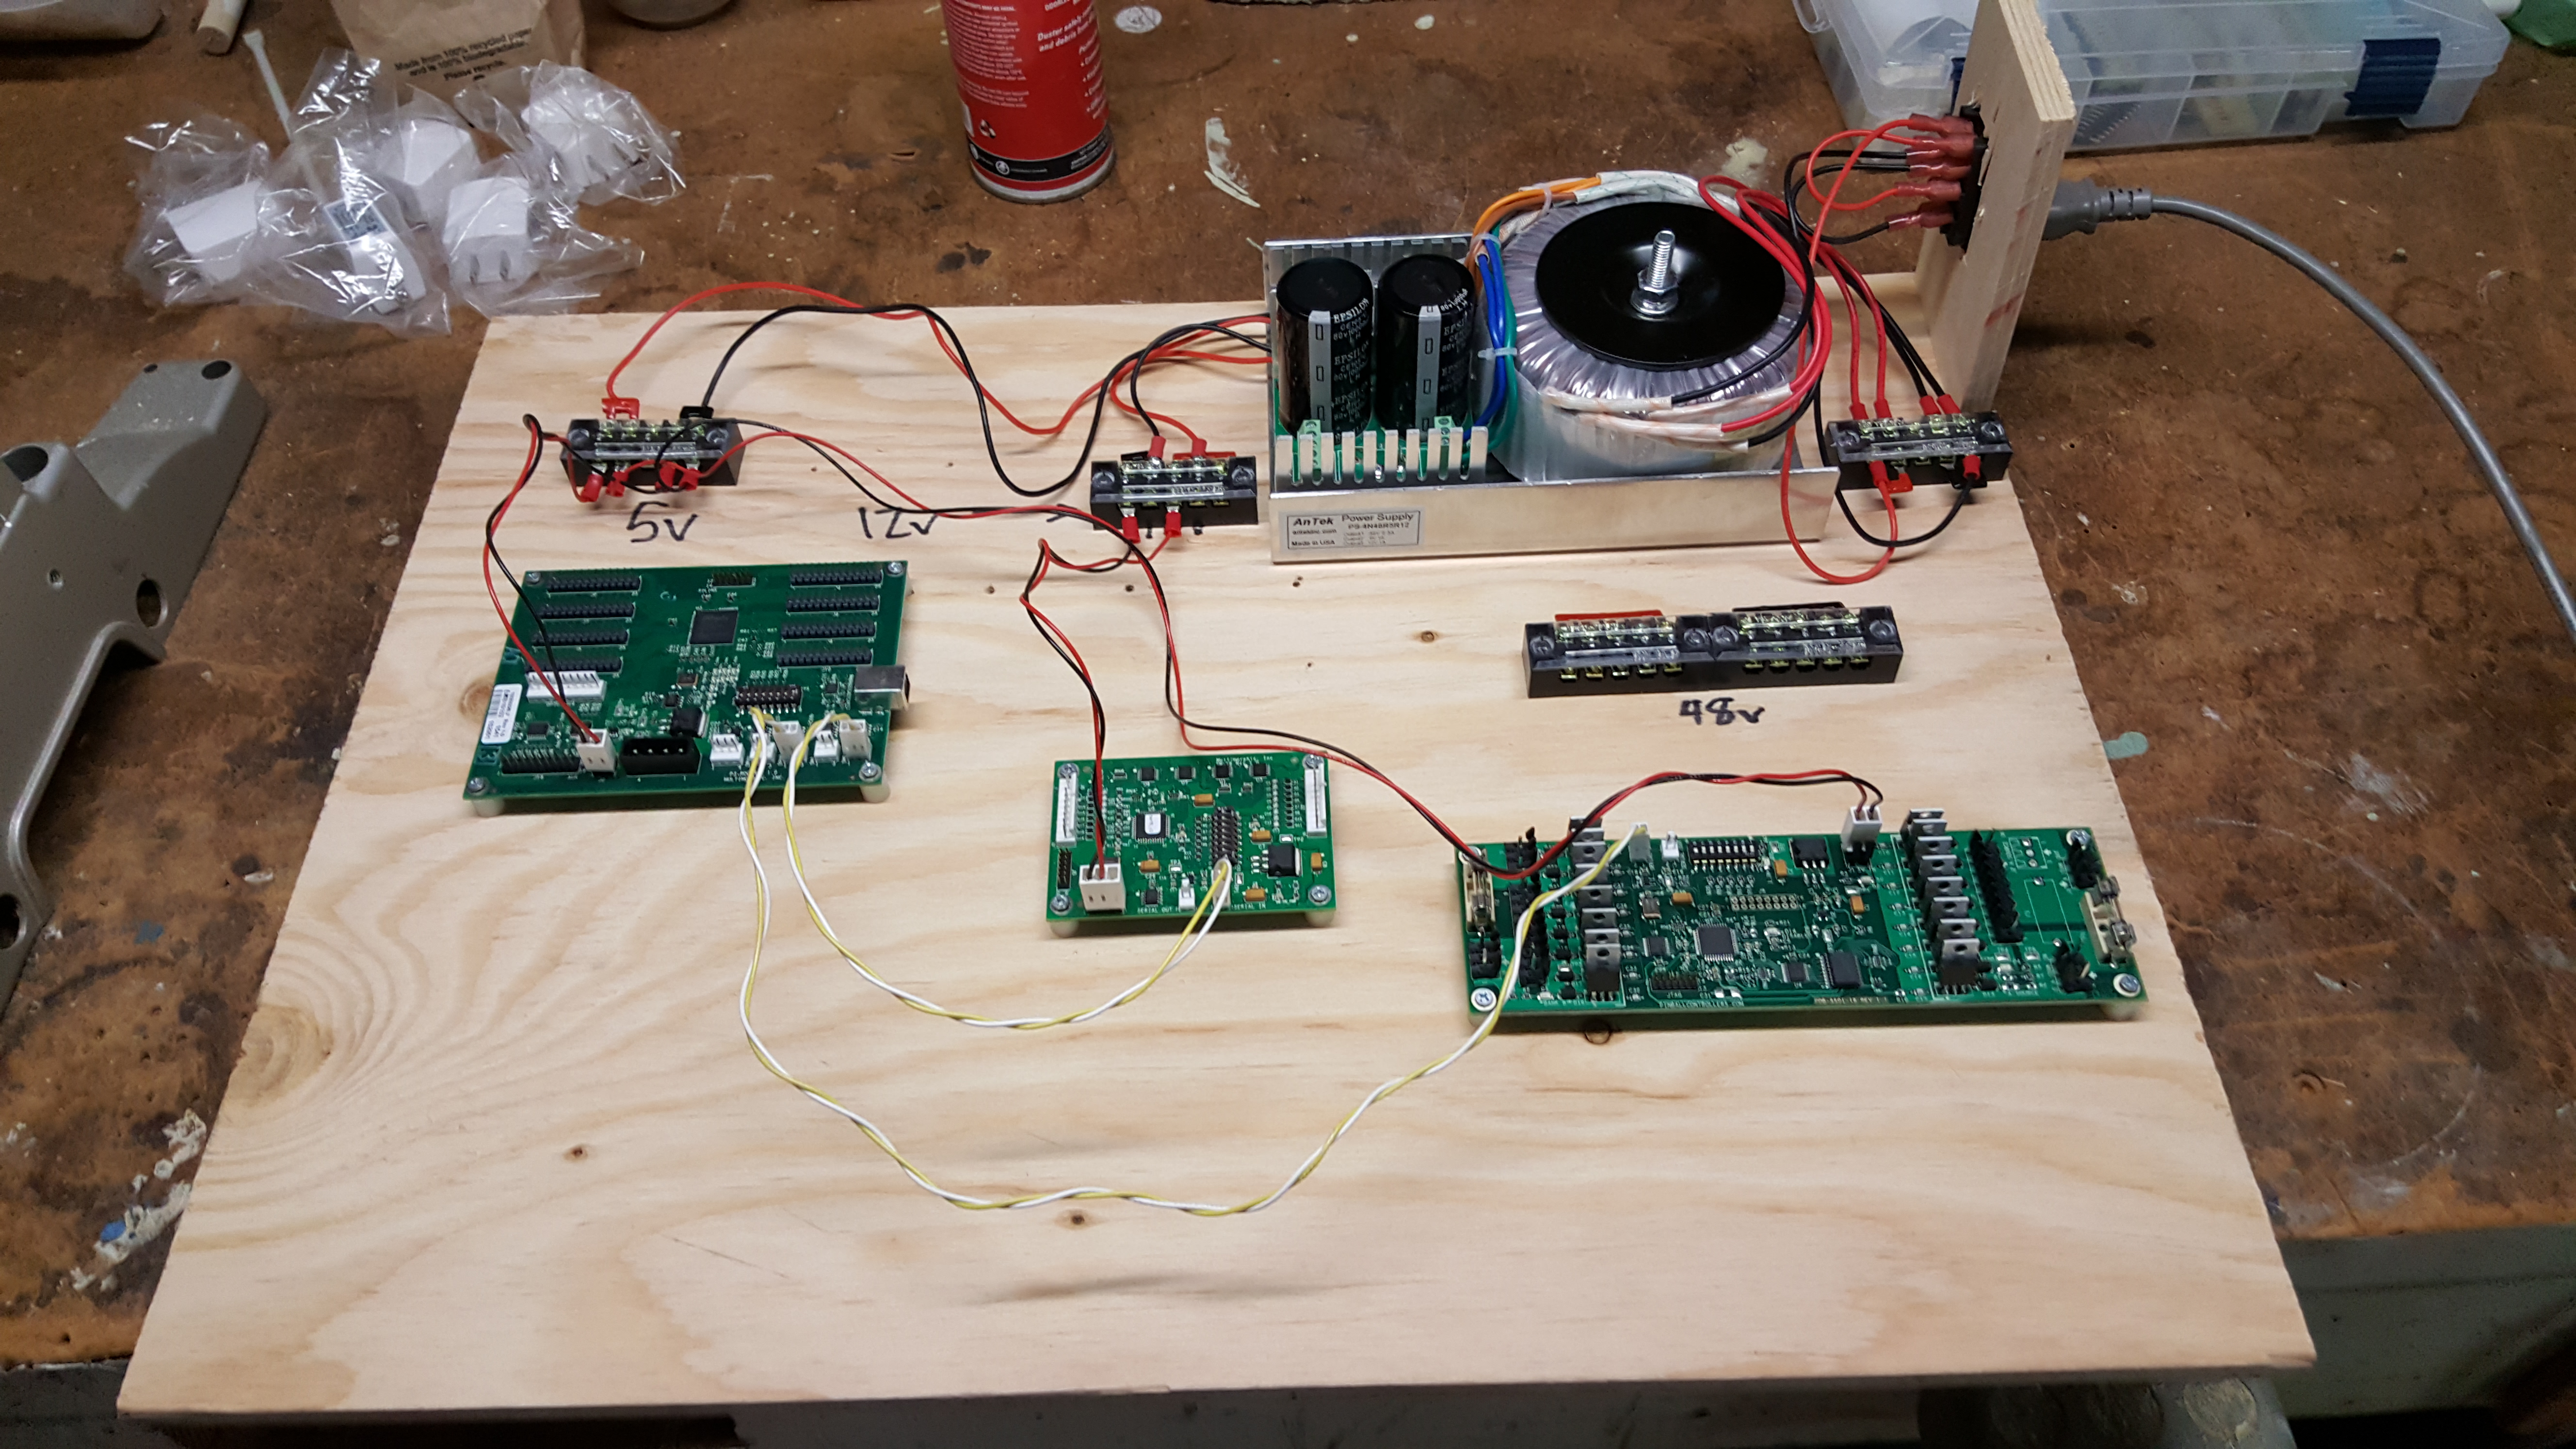
I positioned my test jig over where this will all be placed on the game.  So, everything below the plywood will be under the plywood. in the game as well.

20170806_12325920170806_123306

The last piece of the puzzle (before software), is the ~2″ gap between the ball trough and the bottom of the turret piece.   Can see this gap at the end of the video I posted of the 360 degree action.

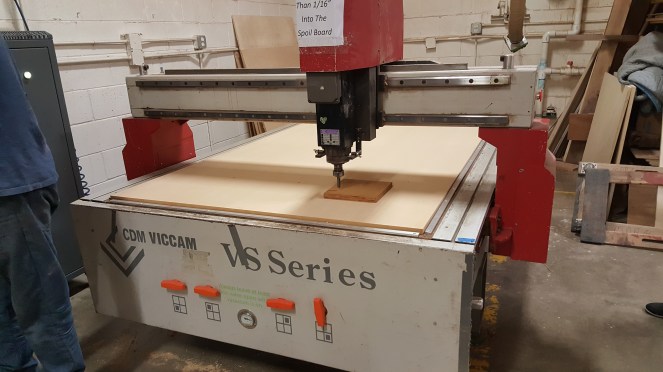
I’ve also been debating a new tool for the workshop to help this..  not sure if hobby CNC, welding rig, or just buy some more time at maker place is best approach.   Either way not sure plastic is going to cut it for this ramp and may need to do a little bit metal work regardless, we’ll see.

Pinball

Functional Cabinet

To get started with actually building something to attach flippers to and bat a ball around, I need a temporary cabinet to mount the two playfields to.  I have been debating how to mount the playfields to the cabinet, meeting the following requirements:

  • Easily removable for when it’s time to replace the wood (I will probably go through a few playfields), or drill new holes, etc
  • Serviceable in that , full disassembly shouldn’t be required to do something quick on the bottom like adjust a switch
  • Keep the playfields at a standard pinball angle of 6-6.5 degrees

Anyways, I have my first attempt at this here:

Additionally, I have completed all the classes at Makerplace that are required to use the CNC machine.

  I’ve got a build job ready to go for the panels, can fit it all in a half sheet of plywood

cabinetjob

So, hoping to get these cut out this weekend

Pinball · Uncategorized

The story so far

I kicked off the pinball build about 3 weeks ago.  I am trying to get to the point of 4 flippers flipping on two playfields as the first major milestone.  There’s a few things to get there:

  • Power supply – the flippers are powered by solenoids that usually run on 48-70v DC. I’ve chosen 48V DC as that’s the highest voltage that is still considered ‘low voltage’ from a safety point of view.  Other than the high voltage DC; both 12V and 5V is needed to power the computer, and the pinball electronic interface (P3-ROC, driver(outputs) module, switches (inputs) module).
  • Power distribution – with all these different voltages , need ways to get them to all the different areas.  Using terminal blocks.
  • Flipper Assemblies – bought from pinballlife.com
  • Flipper Buttons – the player buttons to each side to activate flippers
  • Computer – got a Low power Intel computer (AsRock q1900), hard drive, ram, case, etc
  • Software – linux operating system running Mission Pinball Framework. The bare minimum software here is pretty easy in this framework: flipper button pushed = flipper activated. It’s actually a bit more complicated but that’s the gist.

Over the last couple weeks have bought all the parts and gotten some initial testing done.  This weekend was getting the power and power distribution sorted, which I am nearly happy with.

There is a lot of room there left where additional boards, wiring and the computer will end up.  But, there’s enough there right now to get flippers going.  And no smoke was let out!

Pinball

MakerPlace San Diego

Always looking for an excuse to learn new tools and processes, I joined Maker Place San Diego this past week.  Classes signed up for so far:

  • Vector 2D class – Many of the CNC type machines work with vector graphics (SVGs, etc).  I’ve been learning Inkshape at home.  So far, I don’t see the need to buy Corel Draw or Illustrator but we will see.
  • VCarve – this is the CAM software for the CNC Router at MakerPlace.  This takes your SVG and makes G-Code (this is a popular command language that just about all X/Y/Z robot gantry type things use in the wild).  My 3D printer uses this as well.
  • CNC Router – Operation of that particular piece of equipment / Safety checkout.  CNC routers are very handy for the many holes that go into a playfield between inserts (the lenses), brakets above and below, mechanisms, ball guides, lights, etc.. an empty playfield looks like swiss cheese
  • Plasma CNC – same thing as above, but metal.   I don’t know how useful this is going to be, but they had an opening so I snuck into the class.  Certainly is cool

    I am realizing though with my preliminary activities, I probably should suck it up and take the basic woodworking class.  I haven’t used a band saw since middle school, and that was a long..so long ago.