So we got our hobby CNC in a few weeks ago and have been starting to cut out a playfield to start dialing in the CAD and playing it.

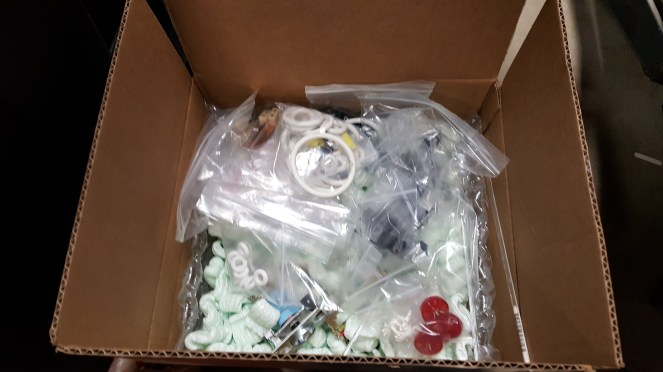
With this I got the next round of pinball parts in.. i just go one side of mechanisms worth as I’m not sure yet what I want to do for everything. But once hooked up one side of the game will have ‘the basics’ – flippers, slingshots, loops w/ switches, inlanes and outlanes.
Also built a rotisserie this weekend out of black pipe from home depot. This allows you to quickly spin the playfield around to make assembly quicker and easier on your back.

- Video: https://photos.app.goo.gl/AmY7MpgBwumhgYkx2
- Pinside thread with parts list: https://pinside.com/pinball/forum/topic/vids-quick-and-dirty-rotisserie-guide
Right now i’m making some coupons to dial in the inlane/outlane geometry as my CAD didn’t account for the thickness of the rubber rings. Think I’ve got maybe one or two more attempts to go. This is after I cut the playfield, then filled some holes, cut again and then realized I should walk before I run and just cut the sections I’m playing with on scrap.

I went to Arcade Expo 4.0 in Banning a week ago and that gave me some ideas. One thing I’ve been realizing is that my playfields are feeling short. I mean, I made them shorter than standard (30″ vs 41-46″). Guess what, 10″ is a lot of inches shorter!
Anyways, will see if i make them longer or not.. I wanted the entire game(so 2x playfields + 6″ center section) to be ~6 feet for 3 reasons:
- the game itself isn’t hugely long like a shuffleboard table as that seems ridiculous
- the baltic birch plywood is easily available in 30″x24″ panels from Rockler.. sometimes they go on sale for under $10 so seemed like it was worth restricting the overall length to that.
- home CNC machine max cutting area is 31×31″ so to cut something longer i’d have to slide the piece during the cut. Given i’ve had some issues already trying to recut the same piece, alignment can be a bit of a challenge. but if i went to 36″ or something maybe we’re just talking about 1 or 2 cuts that have to be done in the 2nd pass.
I will say my enthusiasm level is increasing as it starts to look like something and I get to something that can be played.
A side note.. I have, for now, switched to printing PETG plastic instead of ABS. My print failure rate was very high with ABS, for all manner of reasons but the stuff does like to warp as it shrinks when it cools more than most. PETG isn’t quite as strong (especially given I can vapor smooth ABS) but I think “good enough”, and prints WAY easier. I haven’t had a single failed print and i’ve just about finished my first spool. So, maybe my ‘final’ editions I go back and do ABS so I can get the utmost strength, but for test iterations this is way better.
