Ok after all the 3d printing of the subway / ramp assembly for the turret, I moved on to wiring up the ball trough. There are 7 microswitches on the trough itself (to count 7 of the 8 balls), and two optos (ball 1 and ‘jam’ – if a ball gets stuck). Then, I added an opto on each subway to detect which side the ball arrived on.. this will be key.
First up was creating a power supply for the optos. Opto switches are a combination of an IR LED (like what’s in your TV remote) that needs a decent amount of current for a LED (70-100ma). Creating that much power required creating a small circuit board.
I got a cheap 48v to “whatever” DC converter (to use 5 volts on the LEDs) and then built the circuit.

After that was wiring up the individual switches on the stock ball trough
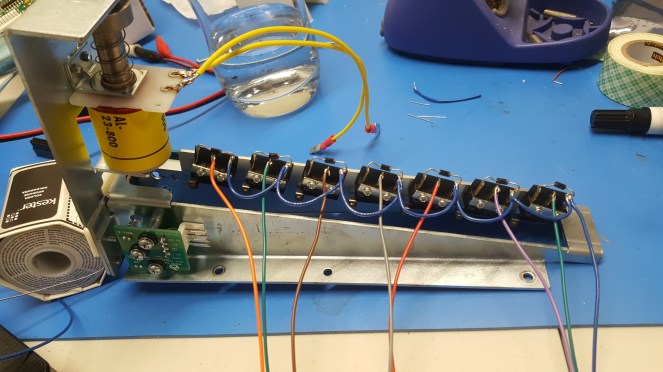
And into a harness that I can attach to the SW-16 p-roc switch board.

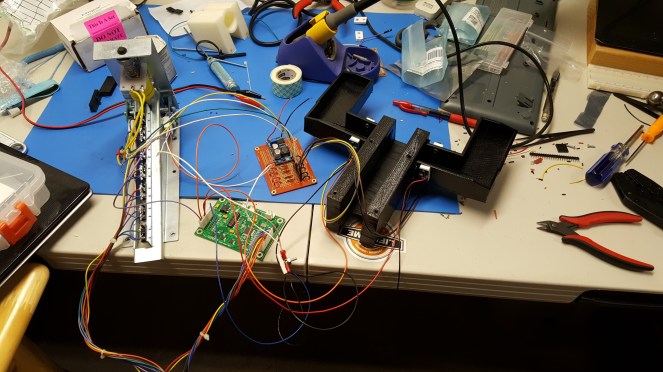
And from there, here’s the whole thing, with the optos also mounted to the 3d printed subway. Now i need to mount all this stuff back to my test jig. I’m starting to realize things are going to be a bit crowded on the thin strip of wood.
Side note, we were in Seattle last weekend and I got to play a fathom.. I hope to copy many of the elements from this 80’s classic. This particular game was well restored.

I had my credit card in there so I can take accurate dimensions from this photo. The sidelands are unique on Fathom as the far left (outside) lane is the ‘safe’ lane, the inner outlane falls straight through. I plan to try this out on my game. And don’t worry, the credit card number is on the back 😉
